
At least that's how it works for me.
Anyway, I started by finding a cute little dresser at a garage sale for next to nothing. I decided I'd paint it a cute color and add it to our booth at the antique mall. However, I temporarily left it rough "shabby chic" style.
The next weekend, I found this little cabinet at a garage sale with a glass shelf. It needed a little love but it also, was a steal. If I would have asked, he would have given it to me for free to make it go away.
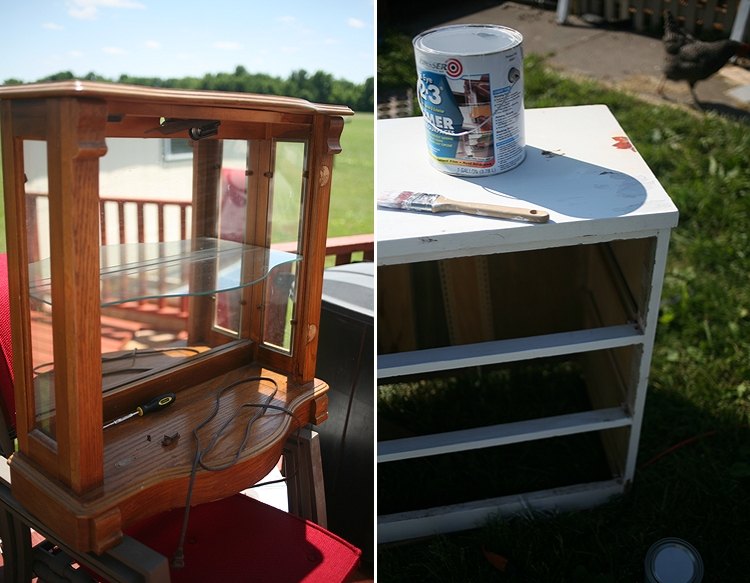
The cabinet used to have a door at one time, so there were hinge marks where it had been. My plan was to paint it and put it in our booth too. That's when I had an epiphany!
If I put the 2 pieces together, I'd have a really cute little china/knicknack hutch!
Gene thought I was nuts. Mainly because the dresser had to come back home. Oops. Sorry dear.
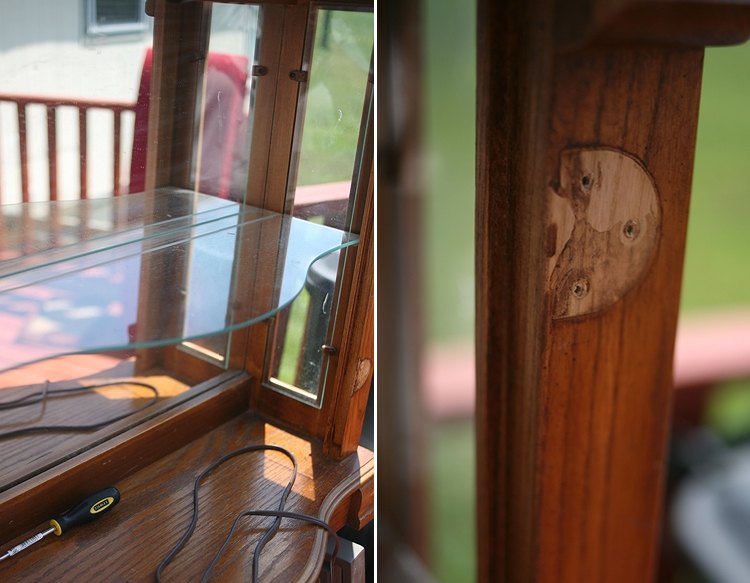
Gene had to take the glass shelf and grind out a chip (shell) in the edge. We're lucky that he has access to this type of equipment. If you don't, just go to your local glass shop and ask if they can smooth out an ugly shell. Depending on how deep it is, they might be able to make it look better (they can't put glass back in, it'll just be ground smooth). It shouldn't cost much for them to do this for you!
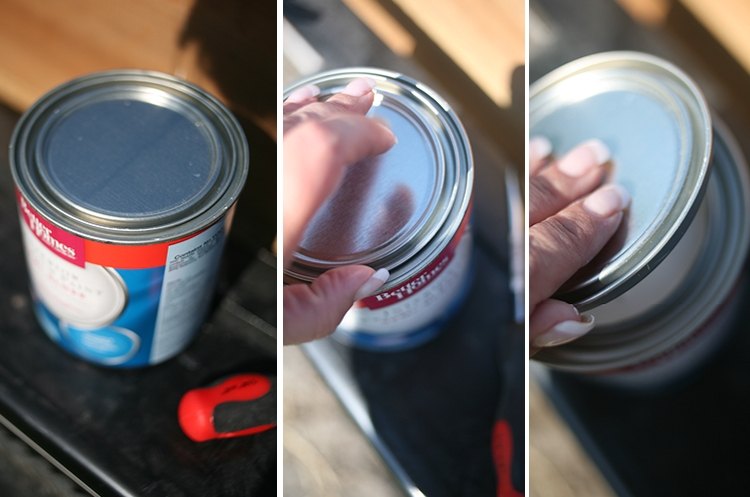
I got it home and decided to paint it all one color. I was super stoked about the very unusual color I picked...
Wait for it!!
.
.
.
.
.
.
.
.
.
.
.
.
.
.
.
.
.
.
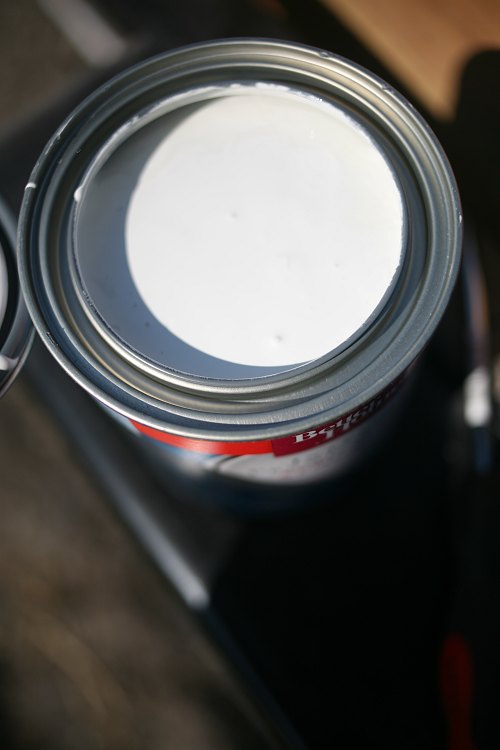
Yes sorry, I am really that lame.
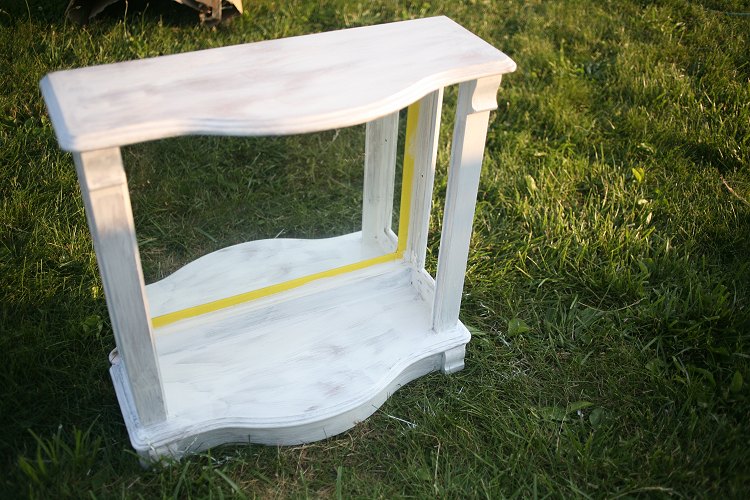
It was around this time, that I realized that the top piece, was going to be too big for the bottom piece. That through a wrench in my plan for a few weeks til I figured out a solution.
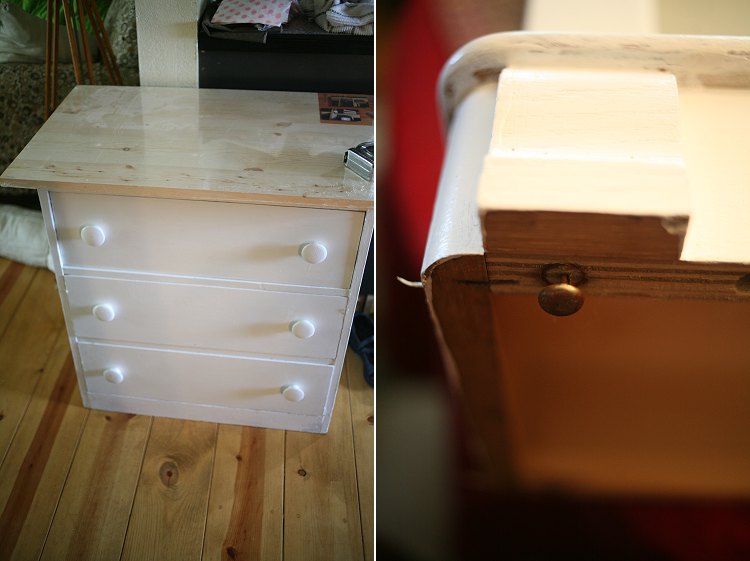
I also realized that the topper piece was not sitting flush on the bottom, so I flipped it up to remove some little nail type "feet". This gave me a chance to see all the places I missed painting (sigh).
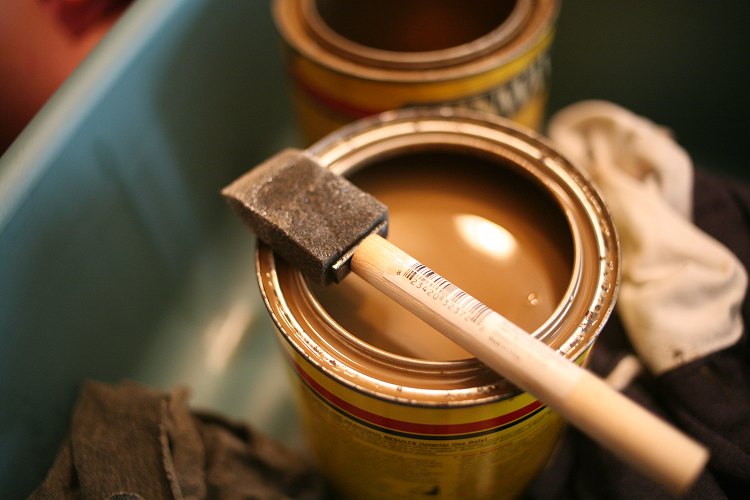
The new pine top was supposed to be painted also, but we decided it might look cooler with a two-tone look. If we hated it, it could always be painted later. We have tons of this color of stain - it's called fruitwood. It's also a real PITA. Everytime I stain something, it's a different color.
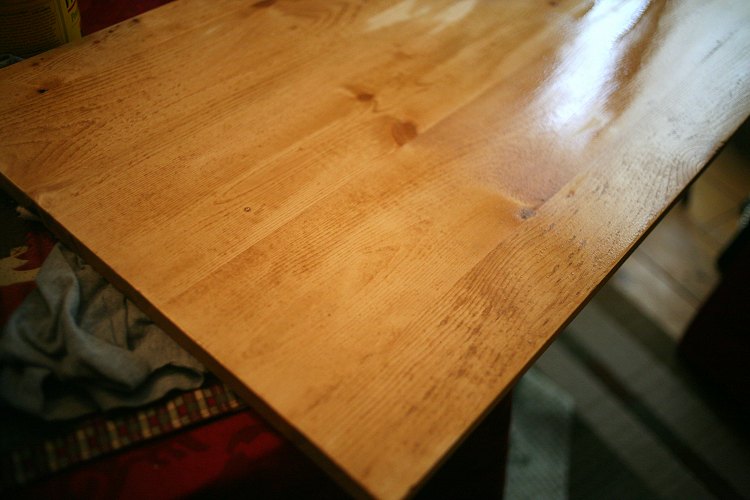
This time being a very acceptable golden honey color.
We then attached the top with some power grab adhesive and several finish nails set below the surface and filled with putty.
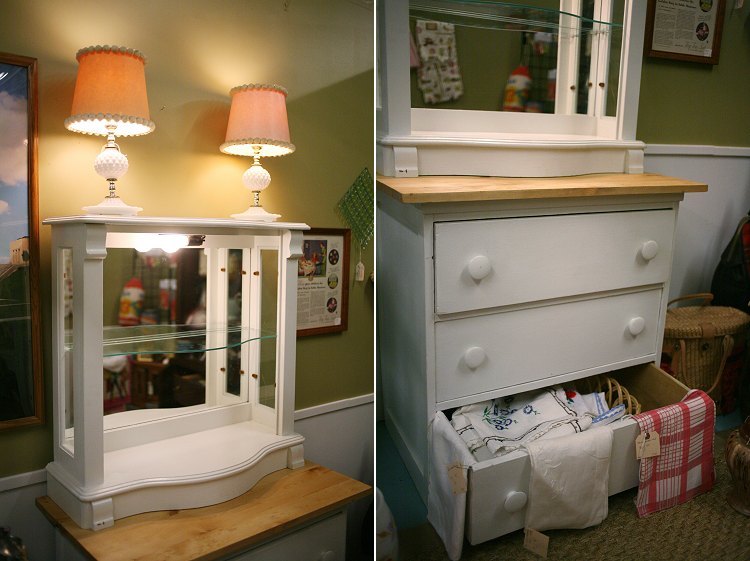
The finished product!
It immediately went to our booth (we had to do some creative arranging to make it all fit in the back of our Jeep). I kinda of forgot to take a photo before I left, oops, so I took 2 photos since I couldn't get back far enough for one.
In the end, Gene thought it was awesome, the girls all wanted it for their rooms and I decided to add a little $$ to my asking price. (it's at Kat & Company in St. Joseph if you're interested in it - #38).
Difficulty: I give it an intermediate since we had to cut a board. If you wanted to do a project like this and don't have tools, you can have them cut boards for you for a small fee in any lumberyard.
Costs:
$1.00 - Top cabinet
$3.00 - Bottom Cabinet
$15.00 - board for new top
$3.00 - paint (was $10 but plenty left for muliple projects)
$22.00 - total cost!
I think this would be so cute for a little girls room for her collection of ponies or something cute! It would also be nice for a small collection, in a house that may not have a lot of room for a traditional china hutch.
Share your trash to treasure links too!


2 comments:
cute! youre like the macgyver of the cabinetry world!!!
Everything I see on the internet, I want to try it. You make it look so fun! But I know I'd be complaining and hating it and wishing it were over so I could see what it looked like the minute I started. I can't even stand doing a second coat of paint, because as soon as I have the idea of what something will look like with one coat, I lose interest.
At any rate, it came out GREAT! It looks like it was a big success! (incidentally, my blog template update ate my blogroll, so I'm behind on your blog as usual).
Post a Comment