I was thinking about this assignment on the way to Tanner's Christmas concert and saw the tree next to the President's house at the university. It was huge and perfect.
I decided to approach this how the average person would. It's dark, it needs to be lighter, and I probably have my camera on full auto.
Now, let me explain how this works. There are 3 legs to photography. ISO, Shutter Speed, and Aperture. Each plays an important part of how much light will enter the camera and expose the "film". Someday we'll go into each step in depth, but today I'll touch lightly on each one.
ISO: how sensitive the camera is to surrounding light. Low # for brighter days, higher # for darker days. BUT, you don't want to push it to the highest ISO always when it's dark, because the higher the #, the more grainy your photo is. On my 50d, the grain is very ugly, not even a pretty "noise" so I run as low of an ISO as possible.
Aperture: (or f-stop) this is how wide the lens opens to allow in light. The wider the aperture, the more light that is entering the camera. (this also decreases the depth of field, but that's a different lesson). So now you can see why lenses with the widest apertures, cost the most money!
Shutter Speed: This is how quickly or how slowly the lens will open to expose the "film". The longer it's open, the more light comes into the camera.
The down side to all of this is one thing. If you're going to be doing low light photography, your shutter speed WILL be long. This is something you won't be able to do handheld so you'll need to either invest in a tripod, or steady your camera on a solid surface - like your car hood. You don't have to spend a lot of money. This summer we found 3 really nice tripods. 2 at garage sales, and one at an antique store. Total investment in all 3? $4.00
If you don't want to hit the swap meet looking for something (and if you're just doing this for fun, don't spend $300 on a tripod please!), you can just get a gorilla pod, or something as simple as a bag of beans will work too! Keep in mind, if you use your car hood, make sure the car is OFF. The vibrations will give you a blurry shot.
So now you can see why there's a delicate balance between the three settings. There's no one setting that's perfect for most situations. In another lesson someday (I promise) I'll teach you how to determine which setting is the most important, but in the meantime, we're going to focus on what works for this situation.
I already knew I wanted the lowest ISO possible because I don't want my photo to be grainy, so I chose ISO 400. I also know that I want to allow in as much light as possible. That leaves the one other leg - shutter speed. I can play with these 3 options to get the optimum look, but the main number I will be adjusting will be the shutter speed.
*note: for all of these shots I'm using a 35mm lens.
I swear, it's going to be less boring soon, are you still awake?? LOL
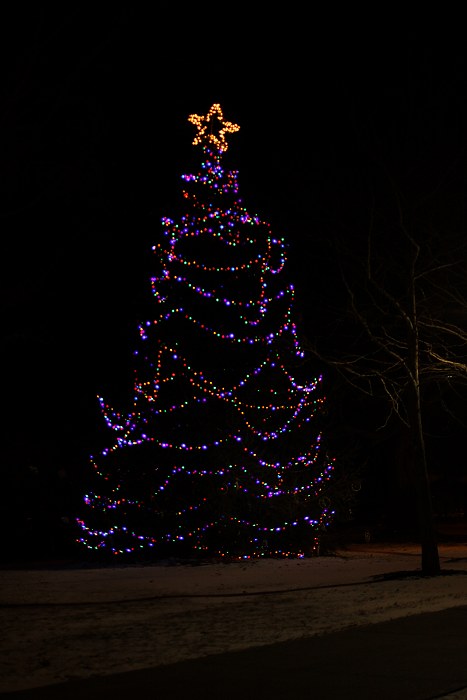
I set my camera on full auto meaning I had no control over any of the outcome at all. What I got, is what the camera decided that I would get. My flash fired of course, which lights up the foreground and the lights are under exposed.
{F 3.5, ISO 400, 1/60th sec and the flash fired}
Looks like crapola doesn't it? Now I've set the standard of what *not* to do. Let's try experimenting a bit shall we?
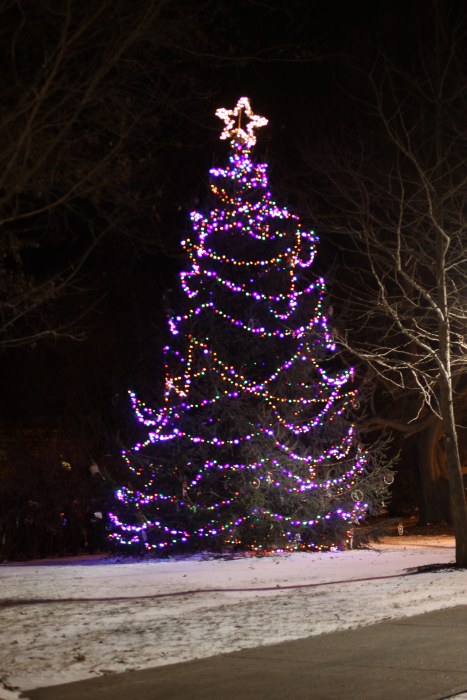
{F 2, ISO 400, 1/6th sec and no flash}
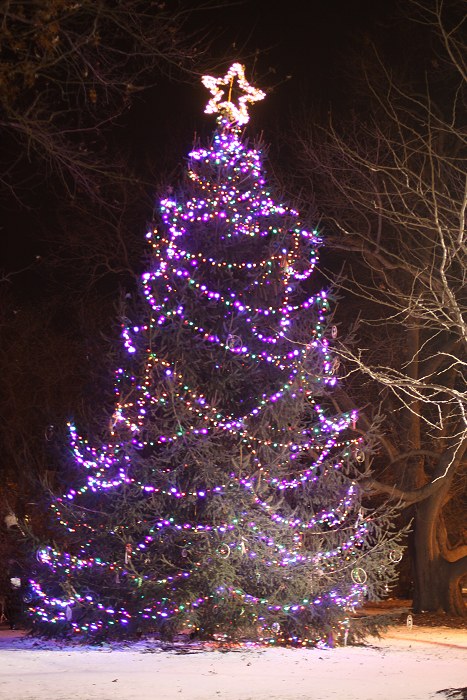
This is much closer to the image that I am trying to produce, but I already see a problem, which I'll explain in a moment.
{F 2, ISO 400, 1/3th sec and no flash}
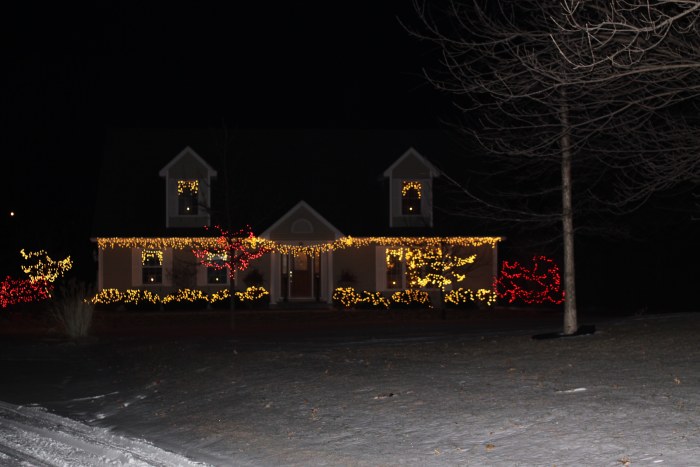
I drove around until I found a house with no streetlights, and I need to say, Maryville, get on the ball... took me forever to find a house with more than a string of lights across the gutter.
You know... like my house.
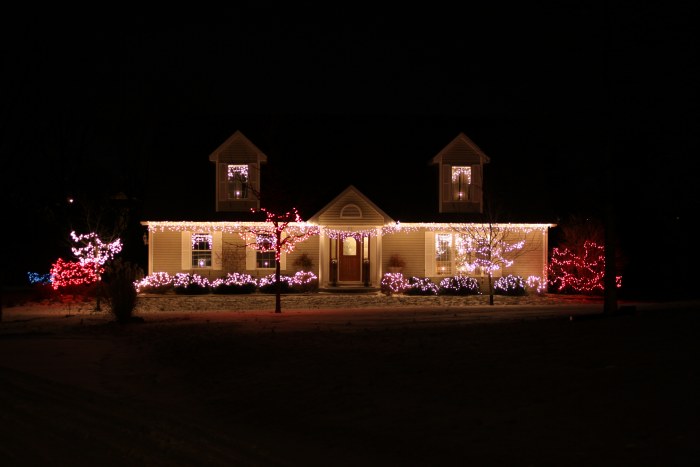
{F 2.8, ISO 400, 1/60th sec and the flash fired}
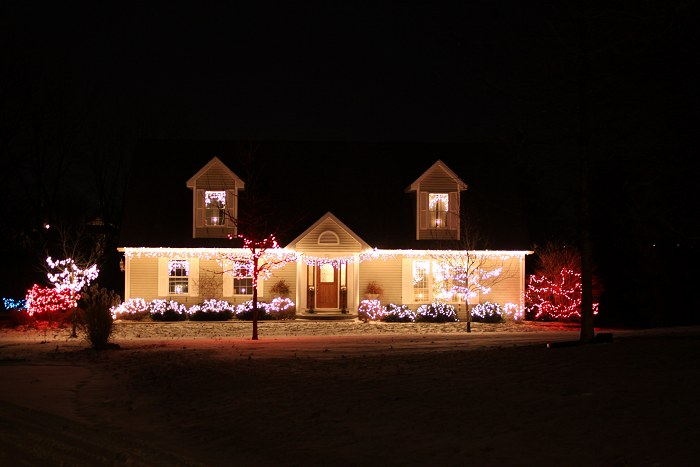
{F 2, ISO 400, 1/6th sec and no flash}
Again, not bad, but I really want to pick up that the lights are "aglow" and you really can't see that in this pic.
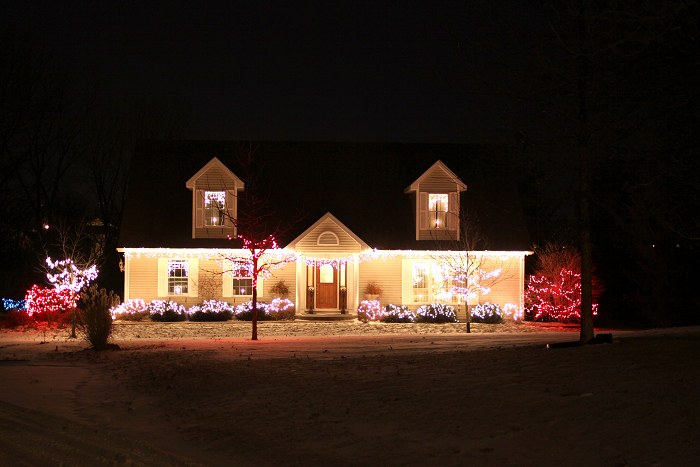
{F 2, ISO 400, 1/3rd sec and no flash}
So I did what I sometimes do, and that is to take the image home, and put it through photoshop to give it a little more light.
This is the above image, but in PS, I adjusted the levels adding a little more light.
OK, now I know that was all very "technical" and more than most people will do for Christmas lights with their point and shoot.
Let me give you some advice in that department. You can do some amazing things with a point and shoot. READ YOUR MANUAL!! If you Lost your manual, like I always do, then you can google your brand & model name + "manual" and you can probably find it online. Bookmark it! Because there are an infinite amount of cameras, I can't give you advice on how to use each model.
Most P&S will let you turn off the flash. Try doing that first. Use your bag of beans to steady your camera on your hood. Some advanced P&S will let you set your ISO, shutterspeed, etc. Again, if you can, then the above rules apply to you!
Additional information:
There is a really good article on Strobist (a site for off camera flash enthusiasts) about taking photos of christmas lights at night. It focuses more on the time of day, and using some ambient light to fill in some of your structures.
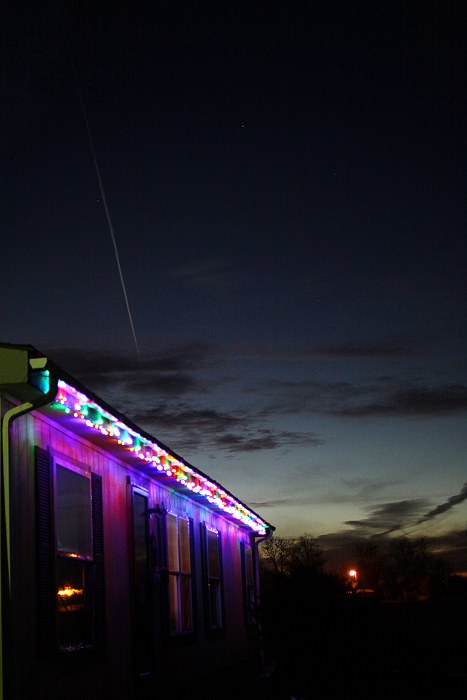
It's sort of along the lines of how I did this photo:
- Here is another article on SLRPhotography that focuses more on shooting lights at night.
Hopefully, you are not asleep now.
*poke*
If you are, then you can print this out and use it for a liner in your birdcage. If you're awake, then let's have a private party and talk about those that chose not to make it to the end. They are like the amish, they'll never know we were talking about them!
Tomorrow, we're going to talk about the details of Christmas!
If you're enjoying the "12 days", please click the follow button over to the right side of the screen. You can also click on the "12 days of photography" tag at the end of this post to see all 12 days at any time.



1 comment:
acutally this is the post i have been waiting for from you! Its very very informative - esp. for us non-flash users at the end, the link...and tripods or monopods even can be a pain, but I am learning that the image stabilizer is whining that it cant do it all lol
Post a Comment