Yesterday, I ran to town to pick up some newspapers, and on my way back, I decided that I was going to go on an explore. I knew I was going to be having a difficult discussion with a state government official shortly, and I wanted to blow off steam and guarantee a good day.
I explored some back roads near my home that I'd never been on before (pics soon), and discovered this beautiful little spot, on the crest of a hill, miles from town.
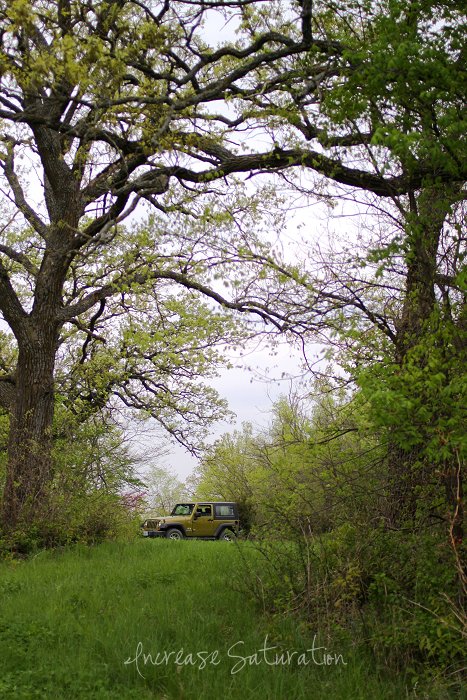
I turned to leave and saw the jeep nestled in some trees and thought *awesome pic*. *click* What was baffling me was that the display showed the photo kind of dark, and had been most of the day, but often in bright outdoor light it will look that way until I get it home and download it onto the desktop and see it looks great.
No such luck this time.
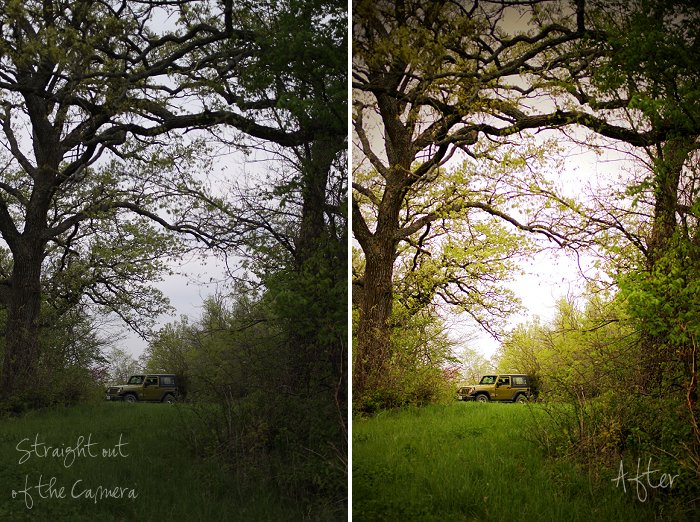
I hadn't caught that I had changed the settings on my metering causing my photos to look much darker than usual. That's fixed now, but in the meantime, I had some cool photos that were mediocre at best. They needed fixed.
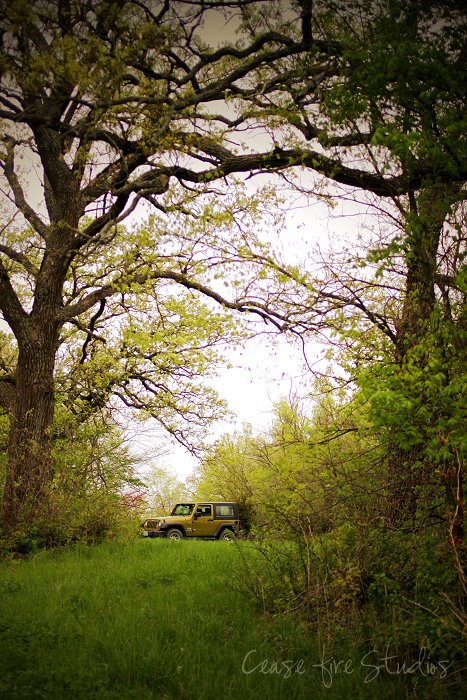
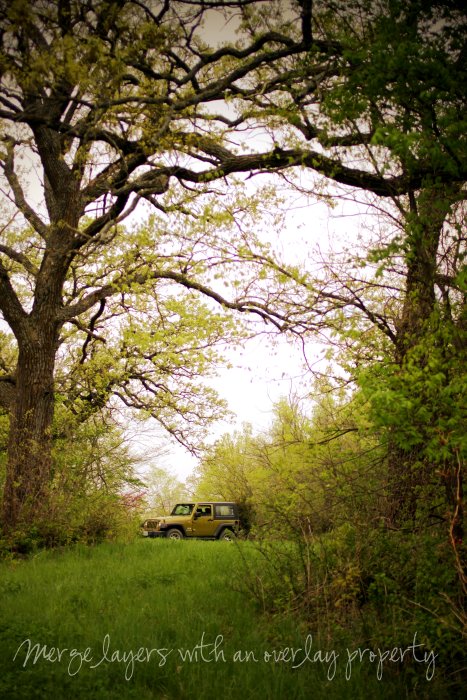
A few minutes in a couple of programs and I took a photo that you might normally delete and turned it into something that (imo) is magazine worthy.
I decided I should show you how I did it.
Keep in mind, I use 2 antiquated programs, and no actions or presets. I know I should, but I'm cheap and this works for me so it's what I do!
I start buy opening the photo in an old version of Photoshop Elements.
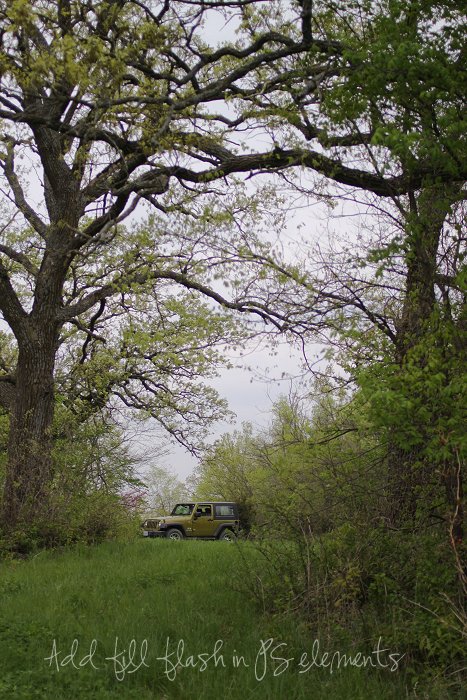
I love the "fill flash" option, and add around 20% light.
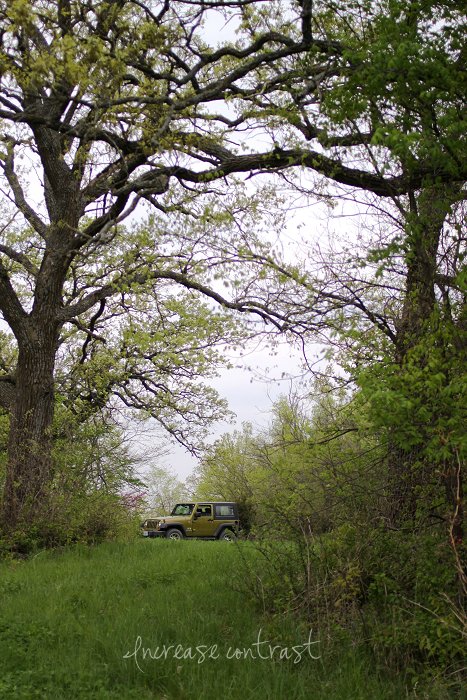
It's flat, so I increase the contrast. I don't go too crazy because I know some of the steps down the road will help with the contrast too.
I want all that green to pop, so I increase the saturation about 30%
I then add some vignetting around the edges so it looks like it's nestled in the woods.
Now I save the file, and open it in Paint Shop Pro. Version I use is Ollllllld, however, it is a beloved version and some say one of the best ones ever made, and I agree so I keep using it.
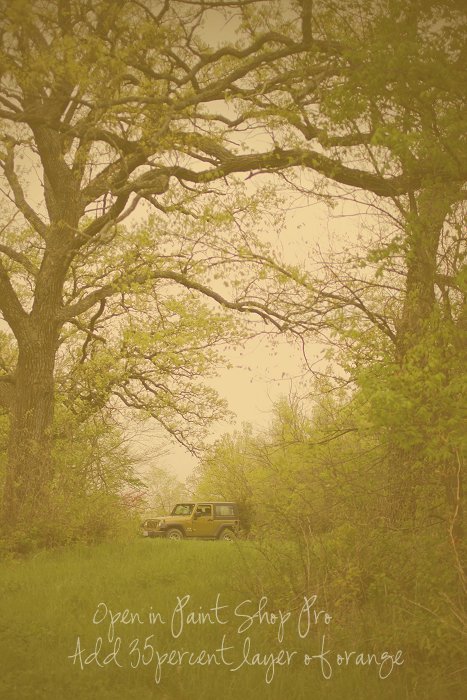
I create a new layer and add an orange color over the whole image 35% opacity.
Then lastly, in the layer properties, I set it to "overlay". It mergest the 2 layers together, gives it a tiny bit of a yellowish cast and makes the light just pop.
It's about 7-8 steps, but it literally takes me 2 minutes to do this.
If you don't want to invest hundreds of dollars on Photoshop, you can try elements, it's around $100. Or, you can go on ebay and search for the software of a version that might be a year or two older than what the current version is. I have saved hundreds this way.
Lastly, there's a free program available called Gimp that is supposed to be similar to Photoshop, but is FREE. I have never used it myself so I can not give you a review, but I have seen some very talented photographers create some amazing stuff with it.
My best advice? Make a copy of your original photo and just play and see what all the buttons do. Control+z (undo) will fix pretty much everything you screw up!
Friday, April 23, 2010
Subscribe to:
Post Comments (Atom)




3 comments:
Beautiful picture, even though I didn't understand a word you said about the process, LOL
LOL... OOPS!!
Practice practice and play and someday you'll understand!
No I think I will leave that to my daughters. I will just sit back and enjoy everyone elses photos. :)
Post a Comment